
If you’re utilizing your cellular hotspot or a metered web connection and want to view or restrict your knowledge utilization, then this text is for you. In this learn, now we have listed the highest 3 methods to watch your web utilization on Windows 11.
Also, Read | 5 Parental Control Settings in Windows 11 in your Child’s PC
Ways to View and Limit Internet utilization on Windows 11
Use the Windows Settings app to View and Limit Your Internet Usage
Windows 11 gives the in-built instruments to trace and set limits to your web utilization. Follow these steps to view and set a restrict on the information utilization in your system.
- Open the Settings app in your Windows 11 system.

- In the left sidebar, broaden Network and Internet and click on on the Advanced Network Settings.
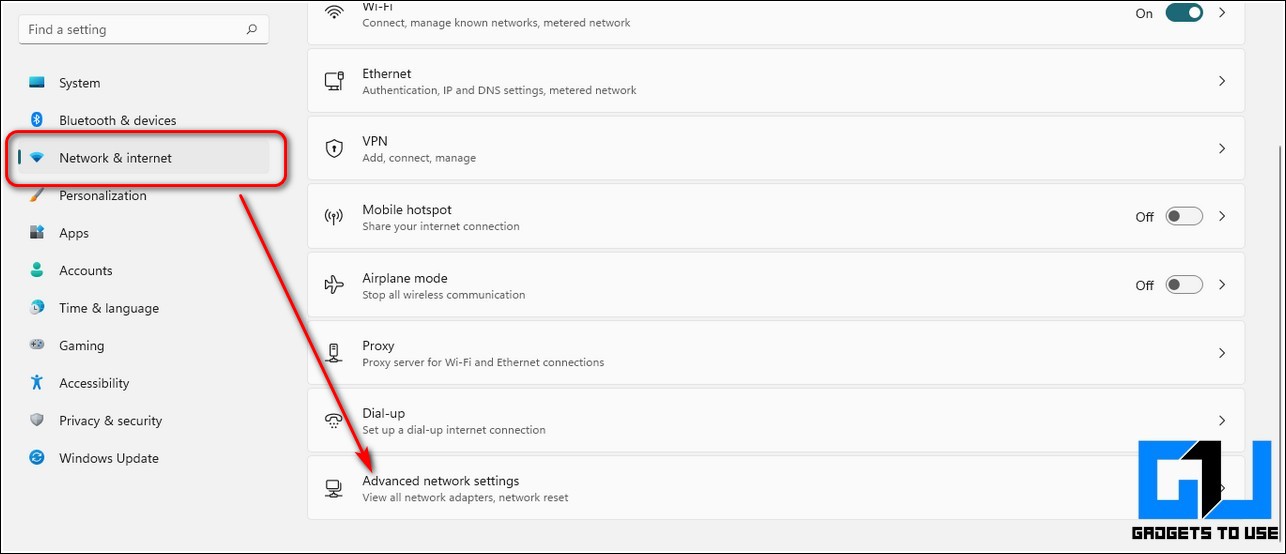
- On the subsequent web page, click on on Data Usage.
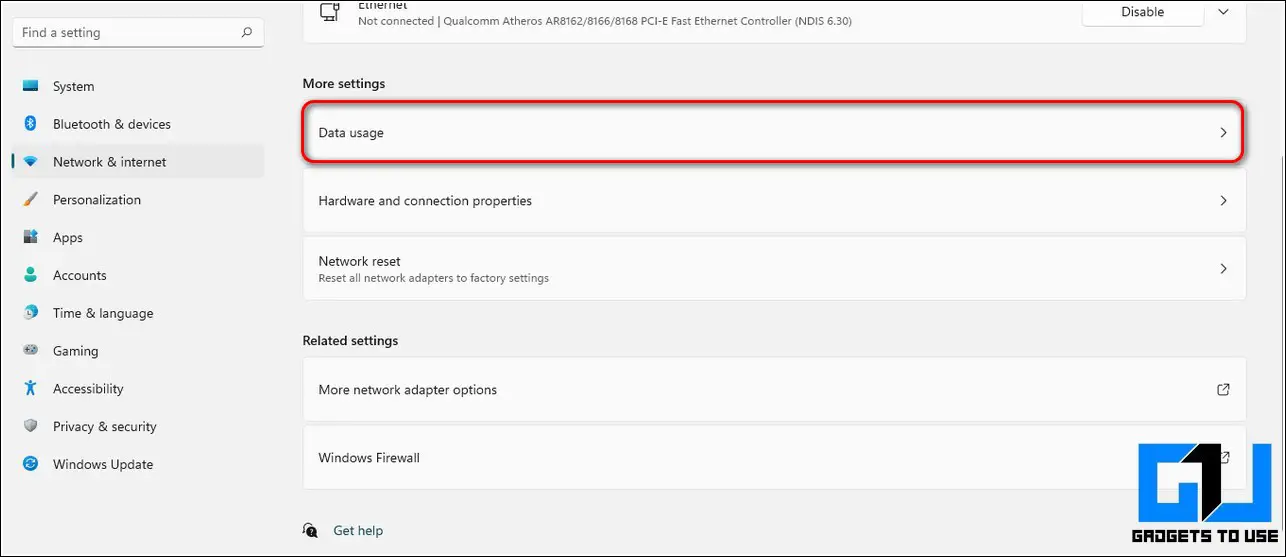
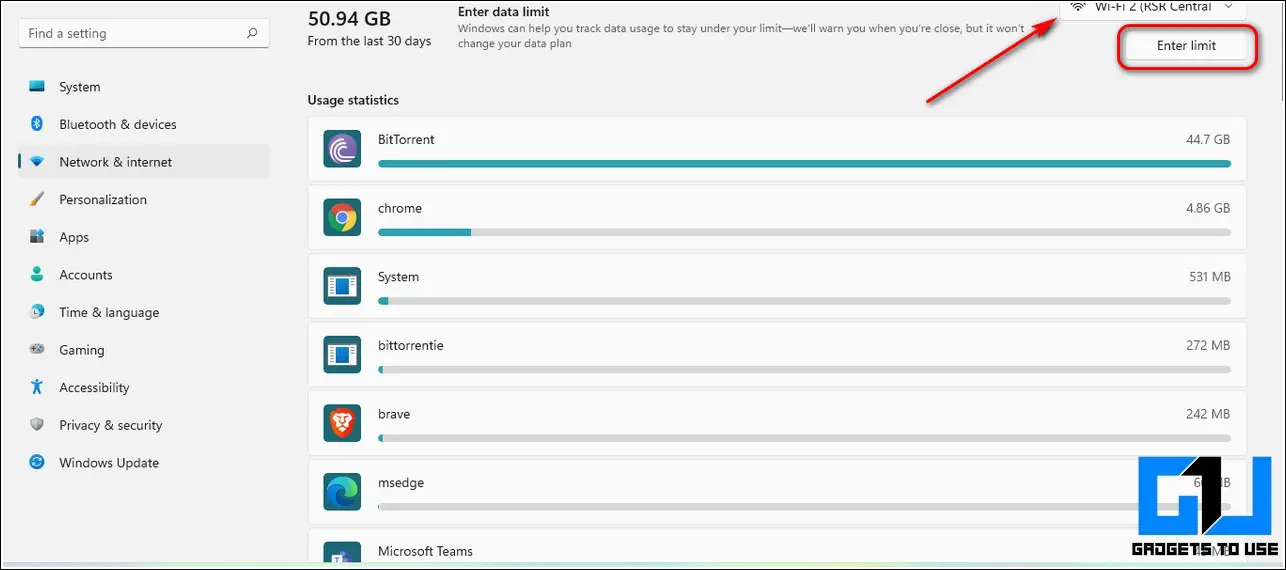
- You can now view your full web knowledge utilization on this web page together with the information consumed by every working app in your Windows 11 system.
- To set a restrict to your knowledge consumption, click on on the Enter restrict button within the high proper nook.
- Enter limits in your knowledge consumption by setting your kind, date, and knowledge restrict. Click on the Save button to avoid wasting your knowledge consumption restrict.
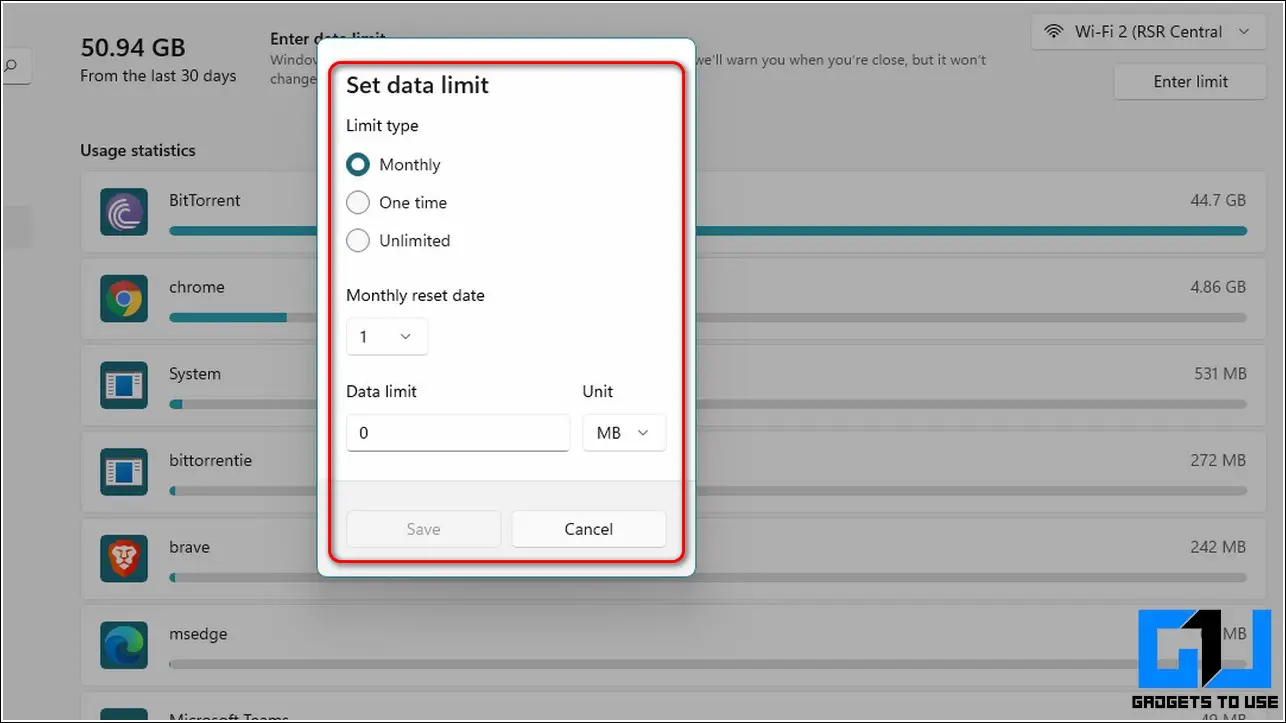
- Congrats. You have efficiently set an web utilization restrict in your Windows 11 system. Your system will mechanically warn you with a notification while you attain near your outlined utilization restrict.
Install Third-Party Software to Track and Limit your Internet Usage
In addition to the in-built Windows instruments to trace web utilization, you too can use third-party software program to trace and restrict your knowledge. One such efficient software program goes by the title of NetWorx. Follow these steps to obtain and use this app to view and restrict your web utilization on Windows 11.
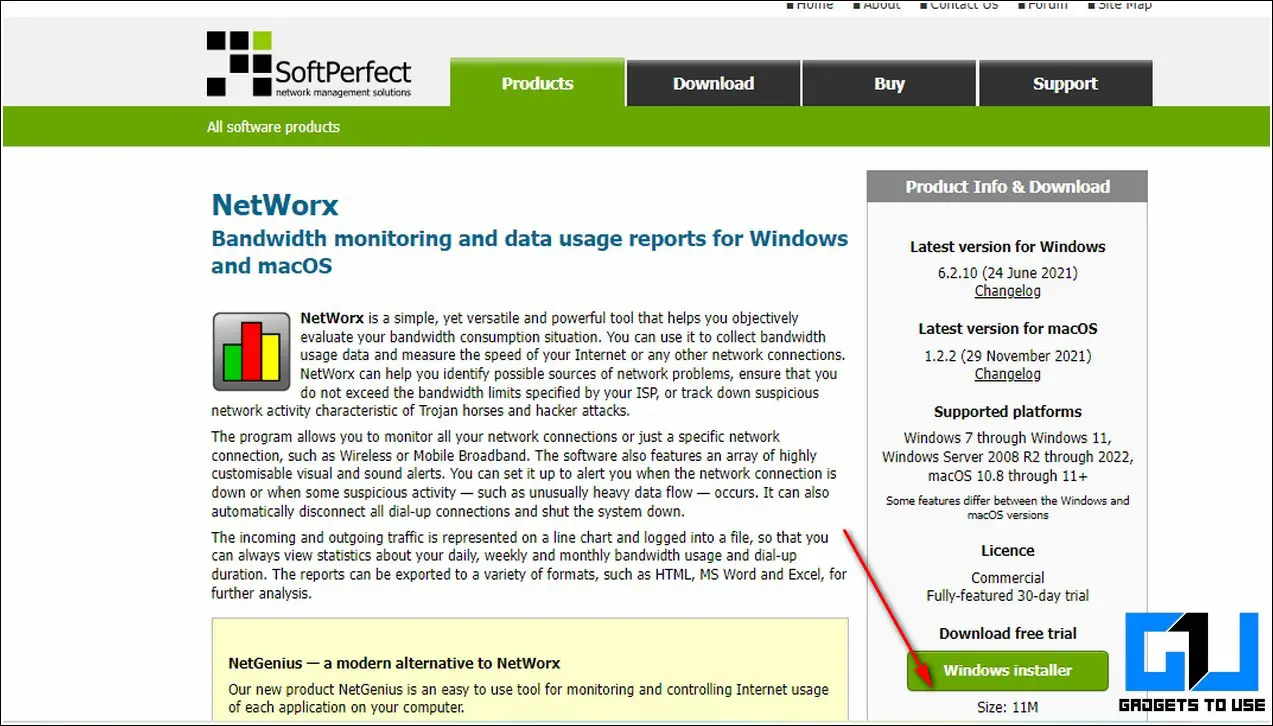
- Open a new tab in your internet browser and entry the NetWorx download page.
- Click on the Windows Installer button to obtain the Networx free instrument.
- Open the downloaded file and comply with the set up wizard to put in the NetWorx instrument in your Windows 11 system.

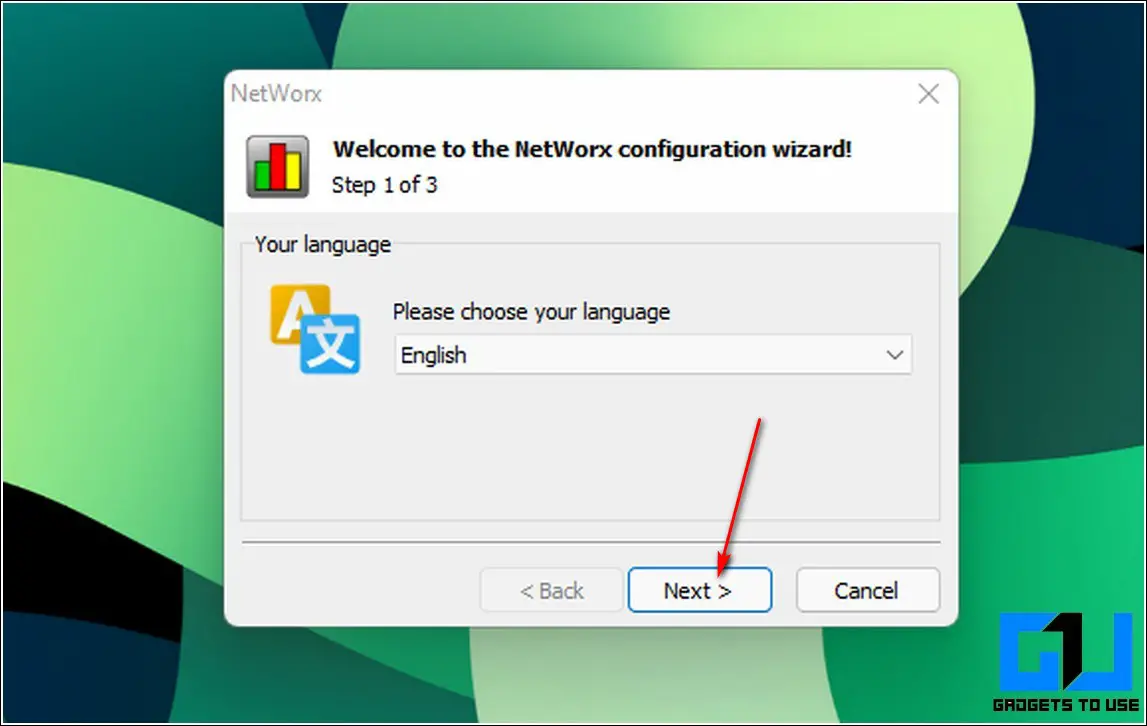
- After the setup has accomplished putting in the app, select your most popular language and click on on the Next button.
- Choose the web connection that you just want to monitor with this app. You can even set this instrument to watch all of the community connections in your system. Click on the Next button to proceed to the subsequent web page.

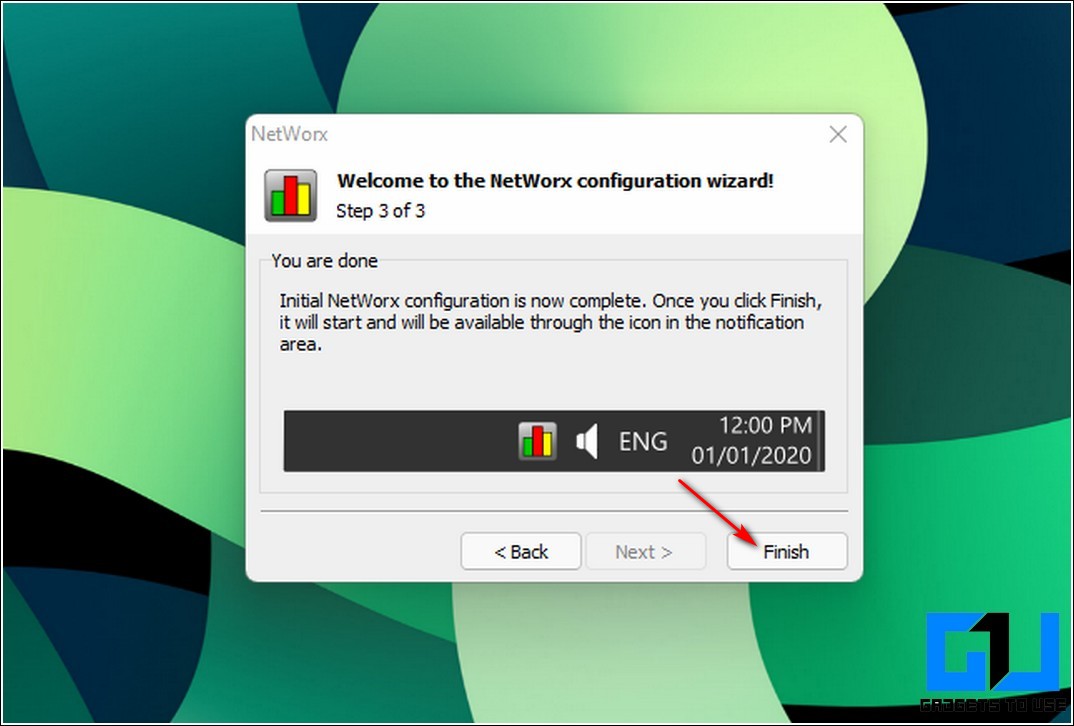
- Click on the Finish button to permit the NetWorx instrument to begin monitoring your most popular knowledge connection.
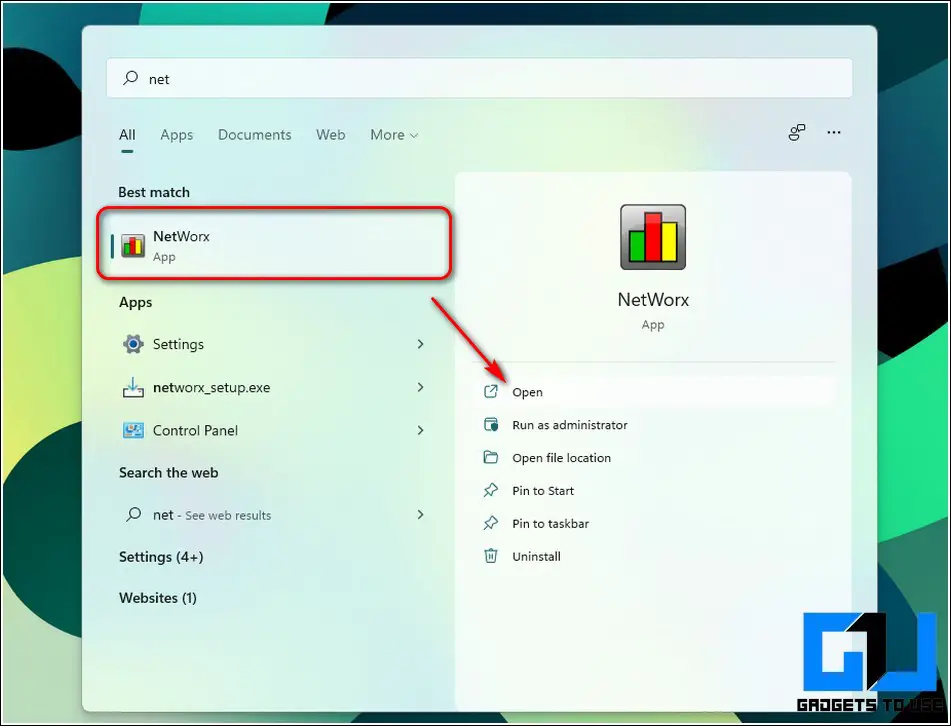
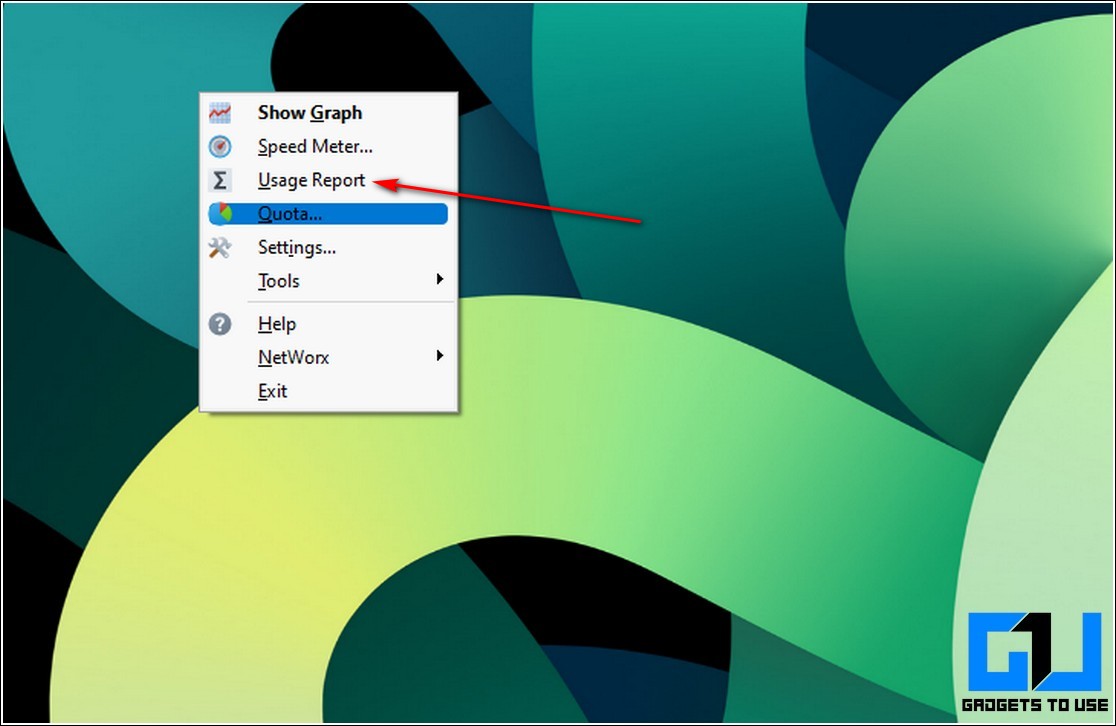
- Now, press the Windows key and seek for the NetWorx app to open it.
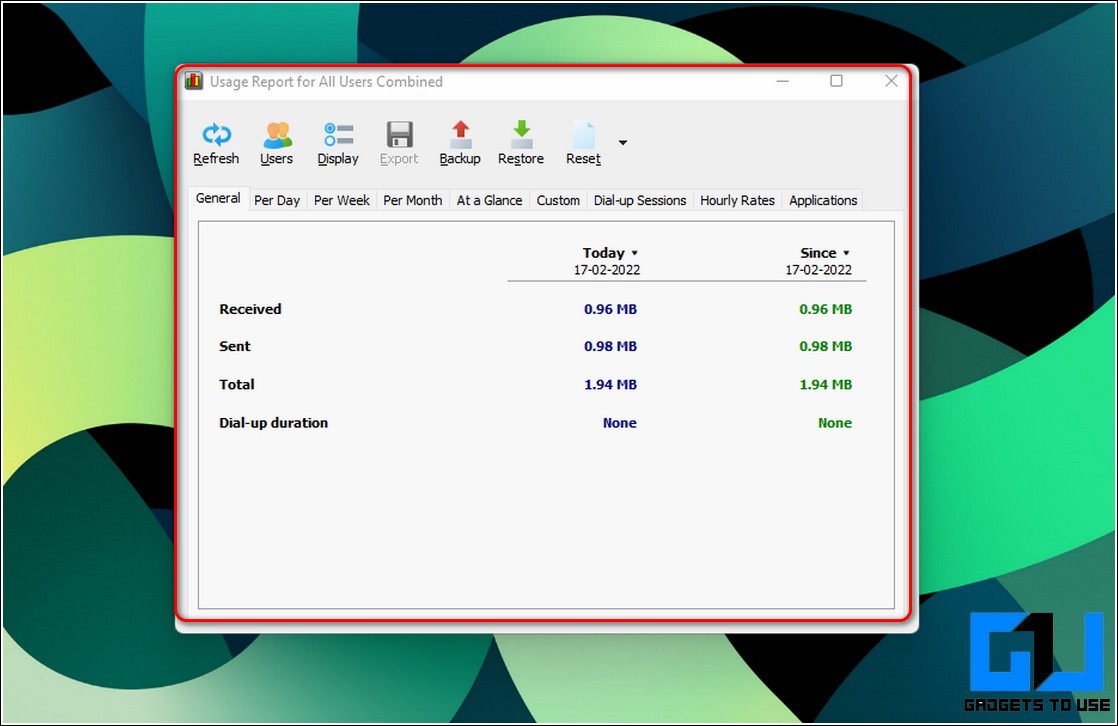
- Click on the Usage Report to view an in depth report of your knowledge consumption.
- You can even export this report back to your system for future reference.
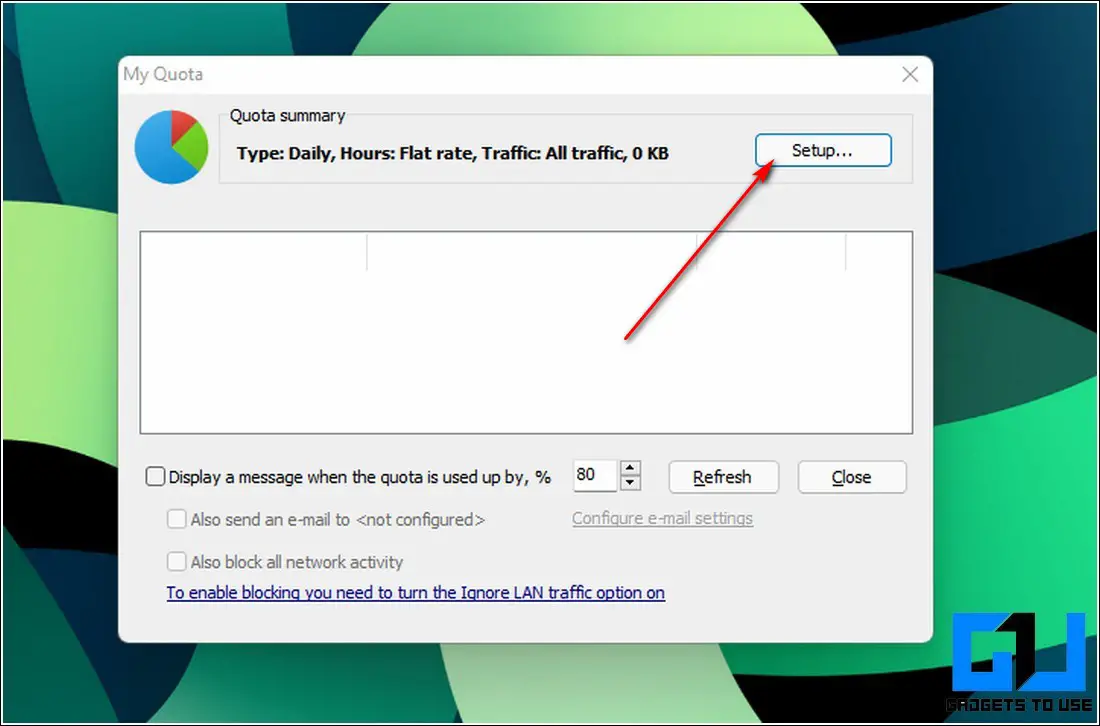
- The NetWorx instrument additionally means that you can set limits to your web utilization by means of its Quota function.
- Click on the Quota button to begin setting your knowledge utilization limits.

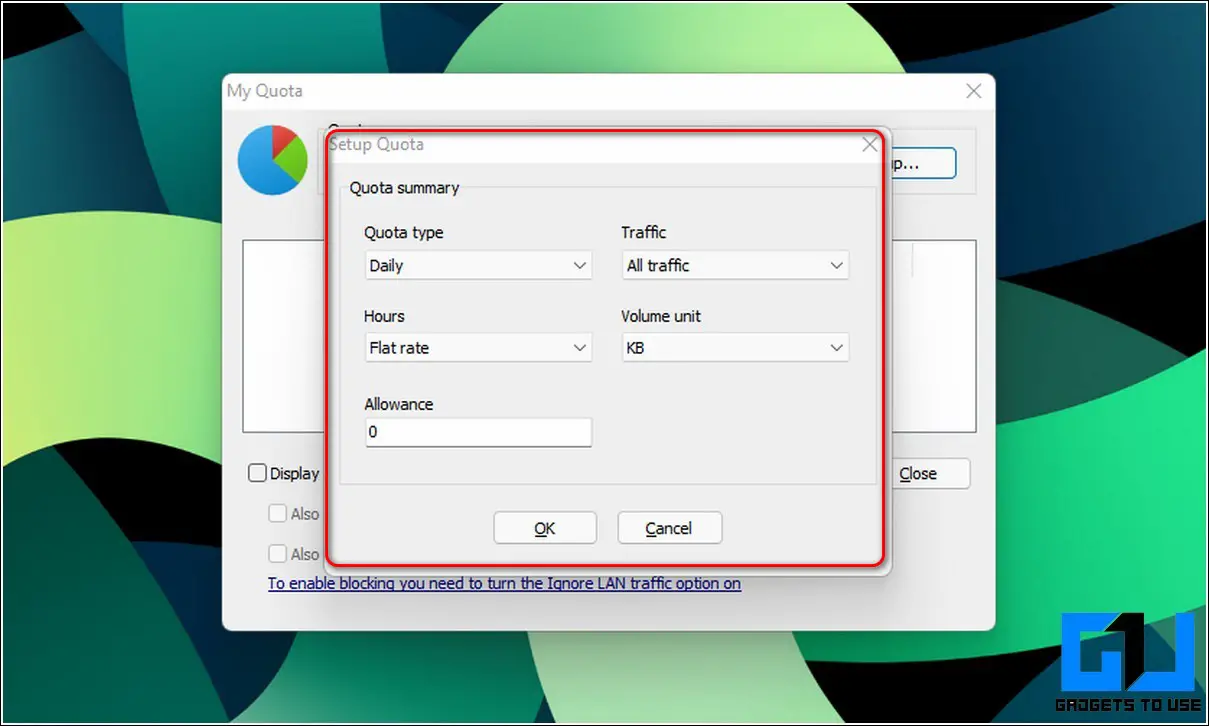
- Click on the Setup button to set your knowledge consumption limits.
- Enter your most popular limits and click on on the Ok button to put it aside.
- To show a warning message, activate the Display a Message function by getting into your required utilization parameters.
- You can even ship an e-mail or block the community connections fully on reaching your knowledge threshold by turning on the related toggle buttons.
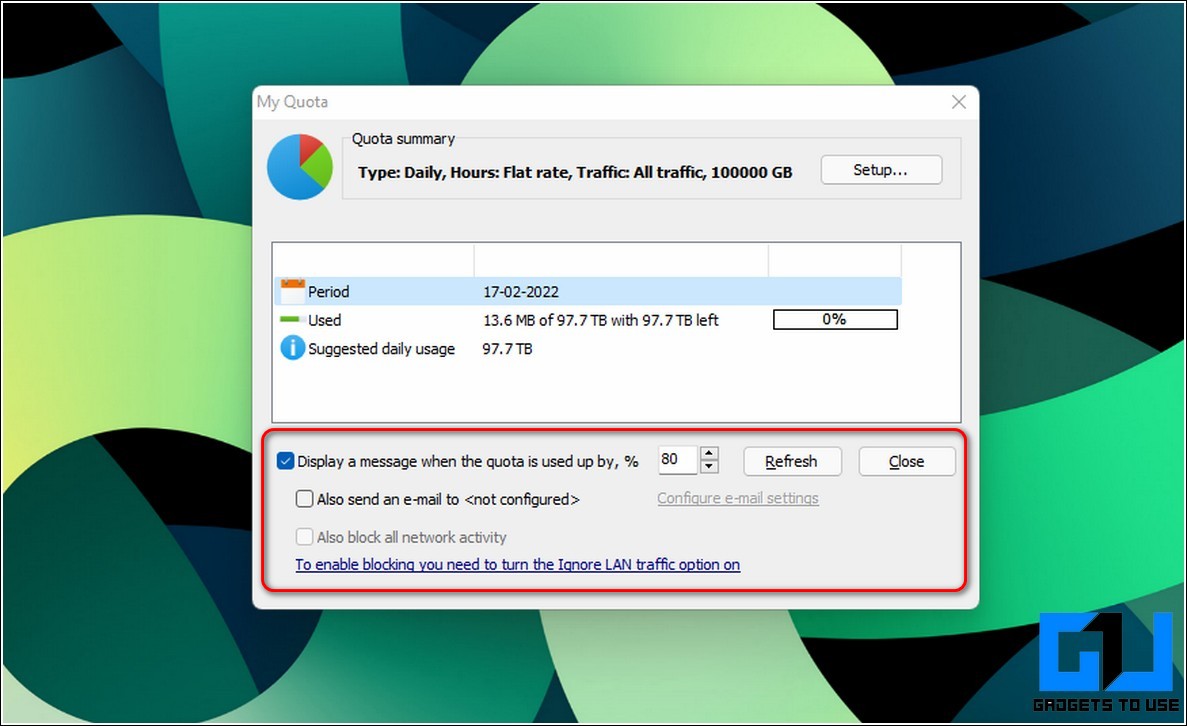
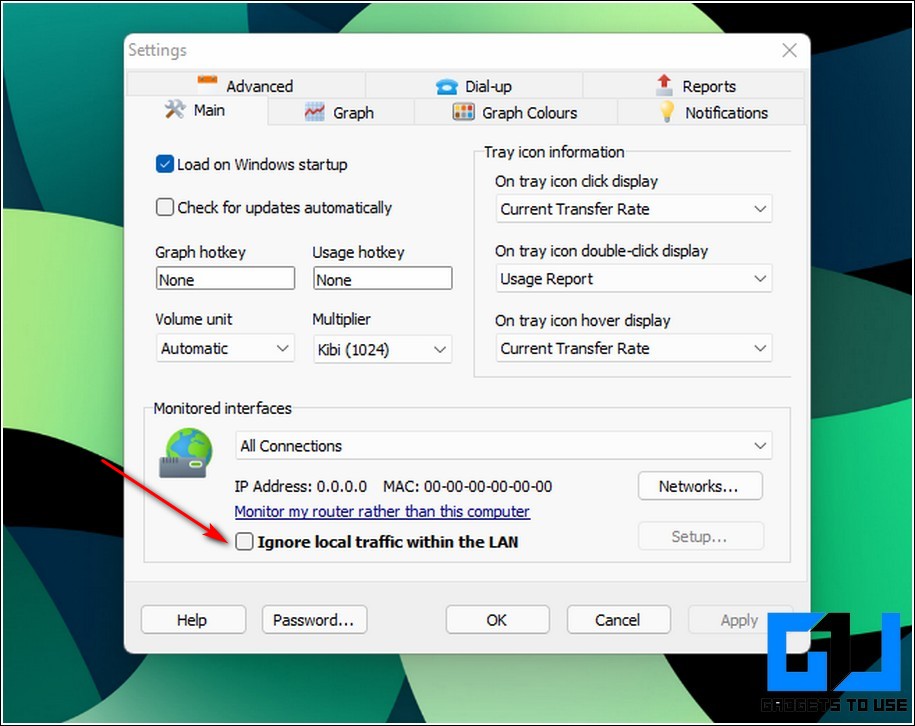
- To block your web connection after crossing your set limits, it’s worthwhile to activate the block web connection possibility and test the Ignore native site visitors throughout the LAN possibility.
Bonus Tip: Use Real-time Internet Speed Meter to Track Your Data
Microsoft Store additionally gives some good apps to monitor your web speeds successfully. One such in style app on this section goes by the title of the Net Speed Meter app by means of which you’ll be able to simply monitor your web add and obtain speeds on Windows 11. Follow these steps to put in and do this app in your system.
- Open the Microsoft Store app in your Windows 11 system and seek for the Net Speed Meter app to put in it.

- Click on the Open button to make use of the app after profitable set up.
- On opening the app, now you can see a floating web pace meter in your display screen displaying your incoming and outgoing community speeds. You can even drag this floating window wherever on the display screen to your comfort.

Also, Learn | 3 Ways to Add Command Prompt to Right-Click Context Menu in Windows 11
Wrapping Up: Monitor your Connections
So, that’s a wrap for the highest 3 methods to watch your web connection in your Windows 11 system. If this 2-minute learn has helped you in detecting and limiting your web utilization then hit the Like button and share this amongst your family members to assist them keep away from pointless knowledge fees. Stay tuned for extra informative reads.
You can even comply with us for fast tech information at Google News or for suggestions and tips, smartphones & devices critiques, be a part of GadgetsToUse Telegram Group or for the newest evaluation movies subscribe GadgetsToUse Youtube Channel.
#Top #Ways #View #Limit #Internet #Usage #Windows
https://gadgetstouse.com/weblog/2022/02/18/view-limit-internet-data-usage-windows-11/