
All merchandise advisable by Engadget are chosen by our editorial group, impartial of our mother or father firm. Some of our tales embrace affiliate hyperlinks. If you purchase one thing by means of one in every of these hyperlinks, we might earn an affiliate fee.
Outside of your cellphone, your PC is probably going the one piece of expertise you utilize essentially the most. If for no different cause than that, it is best to handle it. Not solely will it final for longer, however it would additionally work higher over the time that you simply maintain it. In this how-to, we’ll share some recommendations on the way to handle your PC. Of course, it is unattainable to cowl this subject from each angle, so consider this information as an introduction greater than anything.
How to scrub your laptop and peripherals
Will Lipman Photography for Engadget
Windows PCs, particularly desktops, are available in numerous sizes and shapes, however the suggestions we’re about to undergo right here will enable you to clear your laptop whether or not you obtain it prebuilt or put collectively your self. If you personal a laptop computer, have a look at our latest Mac group information. All the steps we element there’ll work simply as nicely for a Windows moveable.
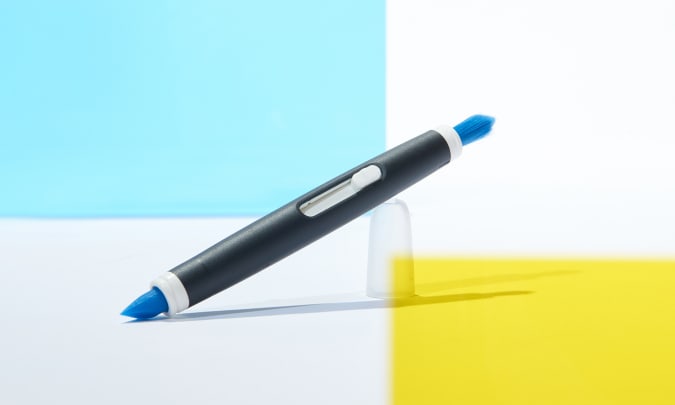
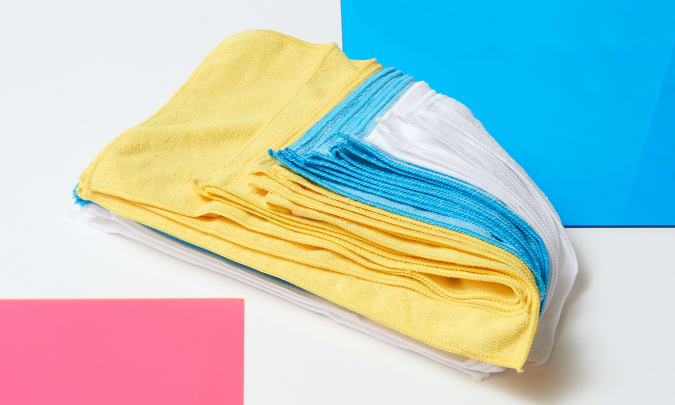
Before cleansing the within of your laptop, begin along with your show and peripherals. At this stage, all you may want is a few distilled water in a sprig bottle and a microfiber fabric. You should purchase the previous at a grocery retailer or make it yourself. And if you happen to do not already personal any microfiber cloths, Amazon sells affordable 24-packs you will get for about $15. Once you will have these in hand, spray the water onto a clear fabric and wipe down your laptop’s show earlier than shifting to the mouse and keyboard. You wish to begin along with your display to keep away from transferring dust and residue to the panel.
It’s doable to jot down a wholly separate information on the way to clear keyboards, however the brief model is you may wish to decide up a keycap puller and use that to present you unobstructed entry to any particles and gunk that has been build up underneath your keys. If the keycaps have loads of dust and residue on them, the best choice is to soak them in heat water and use a toothbrush to wash away the buildup. Give them loads of time to dry earlier than reinstalling them in your keyboard.
Will Lipman Photography for Engadget
Once you’re achieved with these, flip off your PC and unplug all the pieces that is related to it. You’ll additionally wish to swap off the facility provide unit (PSU) by flipping the toggle on its outdoors to the “O” place. Next, push down on the facility button a few occasions to discharge any static electrical energy that you simply is likely to be carrying round.
If in any respect doable, do a lot of the steps we’re about to explain outdoors. The very last thing you wish to do is undergo the difficulty of cleansing your laptop after which let it pull in all that mud once more.
Once you’ve got moved your laptop, begin by eradicating the aspect panels. Most trendy circumstances assist you to do that with none instruments, however you may want not less than one screwdriver for a lot of the work we’ll element in a second. When it involves most screws inside your laptop, a 4-inch Phillips screwdriver ought to be all you want. Some parts, akin to your GPU, might embrace Torx screws and the like, however don’t be concerned about these for now since we can’t be taking them aside. If you do not already personal a good set of screwdrivers and have one thing of a DIY streak in you, a driver package from iFixit is your greatest guess. The 16, 32 and 62-bit kits it sells are a superb start line, they usually’ll turn out to be useful with extra than simply your laptop.
If your PC has any mud filters, take away these now and provides them a rinse on the sink earlier than setting them apart to dry. Depending on how lengthy your laptop has been amassing mud, it’s possible you’ll wish to take away some parts such because the GPU to make it simpler to scrub all the pieces. If that is one thing you’re feeling snug doing and it is your first time eradicating any of the internals, use your cellphone to take pictures of the inside. The photographs will enable you to put all of the elements of their unique place on the finish. That’s vital to do since there’s an optimum strategy to set up lots of the parts in your laptop. For occasion, you all the time wish to set up your GPU within the quickest out there PCIe lane. When it involves eradicating any PCI playing cards, first unscrew its mounting bracket after which push the corresponding launch in your motherboard earlier than pulling the cardboard out.
Will Lipman Photography for Engadget
Whether you determine to maintain all of your laptop’s internals in place or not, you may want one thing to blow all that mud away. A can of compressed air is one choice, however I like to make use of a Giottos Rocket Blower. It was designed for cleansing digicam sensors and will not harm any of your parts. It’s additionally a one-time buy. Whatever you will have at hand, use it to blow away the mud that is been build up in your laptop’s inner parts, followers and grills. Pay particular consideration to the heatsinks connected to your PC’s CPU, GPU, chipset and voltage regulators. They will doubtless have a lot of the hardest to take away mud in your system because of their tight fin stacks. What’s extra, particularly dangerous buildup could make them ineffective at cooling these parts, which is able to, in flip, have an effect on their efficiency.
When cleansing any uncovered PCB, use an antistatic brush (like this one from OXO) as a substitute of a microfiber fabric. You’ll keep away from damaging any of the delicate parts on the board. You can go over any non-electronic half with a dampened microfiber fabric.
At this level, all it’s essential do is put all the pieces again as a replacement. As one closing tip, if there’s any means you’ll be able to keep away from leaving your desktop on the ground, you may find yourself spending much less time cleansing it because it will not be close to all of the mud and dander that collects there. If your desk setup or residing house makes that not an choice, a PC tower stand is an affordable however efficient strategy to elevate your laptop off the bottom and assist it pull in much less particles.
How to prepare your PC’s storage drives
MacPaw
If it has been some time since you’ve got achieved an audit of all of the software program you will have put in in your laptop, the perfect place to begin is within the Task Manager. It’s right here you’ll be able to see how a lot of its assets your laptop is devoting to particular processes. Since everybody can have totally different software program put in on their PC, it is exhausting to supply blanket suggestions, however utilizing the Task Manager you will get a way of the apps which may be slowing down your laptop. For most individuals, there will likely be two most important culprits: bloatware and antivirus software program.
If you obtain your PC from a system integrator like Dell, it would nearly actually embrace software program your laptop does not must function. So you’ll be able to safely uninstall these apps to enhance efficiency and save on house.
This subsequent tip could also be contentious for some, however I imagine so long as you keep away from clicking on sketchy hyperlinks and keep away from the darkish corners of the web, Windows Defender is all it’s essential defend your laptop from nearly all of malware that is on the market. While there are good antivirus applications like Bitdefender and Malwarebytes, the bulk price far an excessive amount of for what they provide and can solely decelerate your laptop. If you do not really feel snug uninstalling your antivirus software program, then by all means, depart it in your laptop.
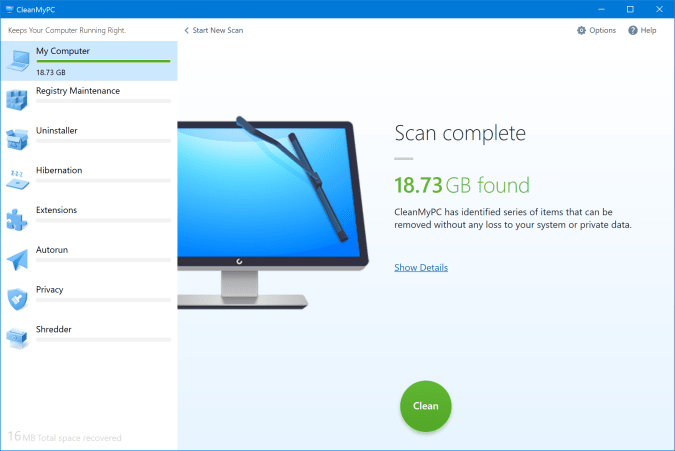
While you are within the activity supervisor, you may additionally wish to click on on the “Startup” tab to see what applications your laptop is launching whenever you energy it on. You can pace up that course of just by limiting that record to as few apps as doable. As for the precise technique of deleting any software program you do not want, all the time uninstall applications from the Control Panel as it will depart the fewest leftovers when all the pieces is claimed and achieved. If you’ve got used Windows for some time, you may have errant recordsdata, folders and registry entries in all places. It’s doable to cull these manually, however doing so might be time-consuming. So we advocate utilizing a program like Iolo System Mechanic or CleanMy PC to finish a deep clear of your system.
If you will have any mechanical drives put in in your laptop, it is good to get into the behavior of defragging them usually. First, launch the built-in Defragment and Optimize Drives app and click on the “Optimize” button. Depending on the scale of your exhausting drive, this course of might take some time. Don’t defrag your SSDs, as you may solely shorten their lifespan for little to no efficiency enchancment.
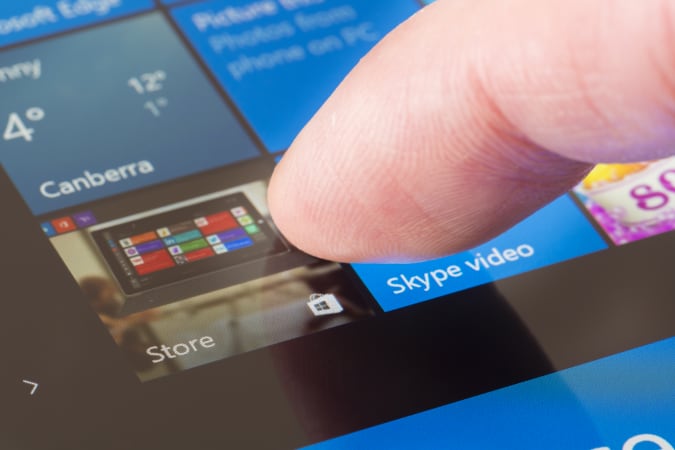
How to prepare your apps, tabs and different home windows
ymgerman by way of Getty Images
Say what you’ll about Windows 10, however the truth is it comes with among the greatest window administration instruments constructed proper into an working system. You needn’t obtain any extra software program to prepare your desktop, however there are some settings you’ll be able to tweak to get much more out of its signature Snap performance.
As it’s possible you’ll already know, you’ll be able to press the Windows and Tab keys on the similar time to deliver up the Task View pane. It’s right here which you could add extra digital desktops. If you are not already utilizing digital desktops, they’re nice for organizing your energetic home windows in order that you do not have to consistently rearrange them whenever you’re looking for a particular one. You can shortly press the Windows key, Ctrl and both the left or proper arrow keys to maneuver between desktops. But to make issues even easier, head to the Settings app and into the Multitasking part of the System menu. Under the “Virtual desktops” heading, swap each settings to “All desktops.” You can now use the Alt-Tab shortcut or taskbar to change to any app on any desktop.
When it involves wrangling your tabs, loads of that may rely on the browser you utilize. But as a good start line, all the preferred ones embrace a characteristic that permits you to pin tabs. I take advantage of this to maintain the web sites I go to most steadily all through a workday (in my case, Gmail, Trello and Google Drive) open always and on the prime of my tab bar. In that means, these tabs by no means get misplaced among the many numerous different web sites I may need open for a narrative I’m writing. What’s extra, within the case of Brave, the browser I take advantage of, I can use a handful of keyboard shortcuts to leap to these tabs shortly.
In closing, we wish to spotlight simply how a lot customization Windows 10 gives you relating to the group of your laptop. As only one instance, you’ll be able to right-click on gadgets situated on the taskbar and begin menu to place the apps and shortcuts you utilize most steadily inside straightforward attain. However, if you wish to actually dig into all of the choices Windows 10 gives on that entrance, web sites like Windows Central have detailed how-tos which might be a superb start line.
#clear #arrange #Engadget